The patch to make it possible to configure the LXC IPs has been merged
upstream. This means that it is no longer needed to patch gitian.
Remove that workaround.
16 KiB
Gitian building
Setup instructions for a gitian build of Dogecoin using a Debian VM or physical system.
Gitian is the deterministic build process that is used to build the Dogecoin Core executables [1]. It provides a way to be reasonably sure that the executables are really built from source on github. It also makes sure that the same, tested dependencies are used and statically built into the executable.
Multiple developers build the source code by following a specific descriptor ("recipe"), cryptographically sign the result, and upload the resulting signature. These results are compared and only if they match, the build is accepted and uploaded to dogecoin.com.
More independent gitian builders are needed, which is why I wrote this guide. It is preferred to follow these steps yourself instead of using someone else's VM image to avoid 'contaminating' the build.
[1] For all platforms except for MacOSX, at this point. Work for deterministic builds for Mac is under way here: https://github.com/theuni/osx-cross-depends .
Table of Contents
- Create a new VirtualBox VM
- Connecting to the VM
- Setting up Debian for gitian building
- Installing gitian
- Setting up gitian images
- Getting and building the inputs
- Building Dogecoin
- Building an alternative repository
- Signing externally
- Uploading signatures
Create a new VirtualBox VM
The first step is to create a new Virtual Machine, which will be explained in this section. This VM will be used to do the Gitian builds. In this guide it will be explained how to set up the environment, and how to get the builds started.
Debian Linux was chosen as the host distribution because it has a lightweight install (in contrast to Ubuntu) and is readily available. We here show the steps for VirtualBox [1], but any kind of virtualization can be used. You can also install on actual hardware instead of using a VM, in this case you can skip this section.
In the VirtualBox GUI click "Create" and choose the following parameters in the wizard:

- Type: Linux, Debian (64 bit)

- Memory Size: at least 1024MB, anything lower will really slow the build down

- Hard Drive: Create a virtual hard drive now
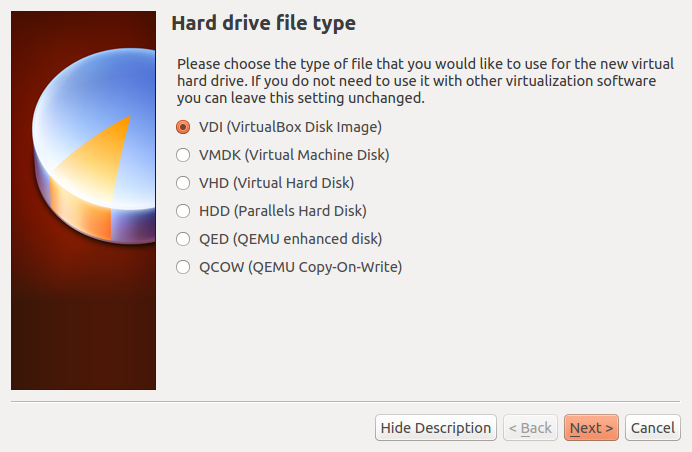
- Hard Drive file type: Use the default, VDI (VirtualBox Disk Image)

- Storage on Physical hard drive: Dynamically Allocated

- Disk size: at least 40GB; as low as 20GB may be possible, but better to err on the safe side
- Push the
Createbutton
Get the Debian 7.4 net installer. This DVD image can be validated using a SHA256 hashing tool, for example on Unixy OSes by entering the following in a terminal:
echo "b712a141bc60269db217d3b3e456179bd6b181645f90e4aac9c42ed63de492e9  /home/orion/Downloads/debian-7.4.0-amd64-netinst.iso" | sha256sum -c
# (must return OK)
After creating the VM, we need to configure it.
- Click the
Settingsbutton, then go to theNetworktab. Adapter 1 should be attacked toNAT.

- Click
Advanced, thenPort Forwarding. We want to set up a port through where we can reach the VM to get files in and out. - Create a new rule by clicking the plus icon.

-
Set up the new rule the following way:
- Name:
SSH - Protocol:
TCP - Leave Host IP empty
- Host Port:
22222 - Leave Guest IP empty
- Guest Port:
22
- Name:
-
Click
Oktwice to save.
Then start the VM. On the first launch you will be asked for a CD or DVD image. Choose the downloaded iso.

[1] https://www.virtualbox.org/
Installing Debian
In this section it will be explained how to install Debian on the newly created VM.
- Choose the non-graphical installer. We do not need the graphical environment, it will only increase installation time and disk usage.

Note: Navigation in the Debian installer: To keep a setting at the default
and proceed, just press Enter. To select a different button, press Tab.
- Choose locale and keyboard settings (doesn't matter, you can just go with the defaults or select your own information)


- The VM will detect network settings using DHCP, this should all proceed automatically
- Configure the network:
- System name
debian. - Leave domain name empty.
- System name

- Choose a root password and enter it twice (and remember it for later)

- Name the new user
debian(the full name doesn't matter, you can leave it empty)


- Choose a user password and enter it twice (and remember it for later)

- The installer will set up the clock using a time server, this process should be automatic
- Set up the clock: choose a time zone (depends on the locale settings that you picked earlier; specifics don't matter)

- Disk setup
- Partitioning method: Guided - Use the entire disk

- Select disk to partition: SCSI1 (0,0,0)

- Partitioning scheme: All files in one partition

- Finish partitioning and write changes to disk -> Yes (
Tab,Enterto select theYesbutton)


- The base system will be installed, this will take a minute or so
- Choose a mirror (any will do)

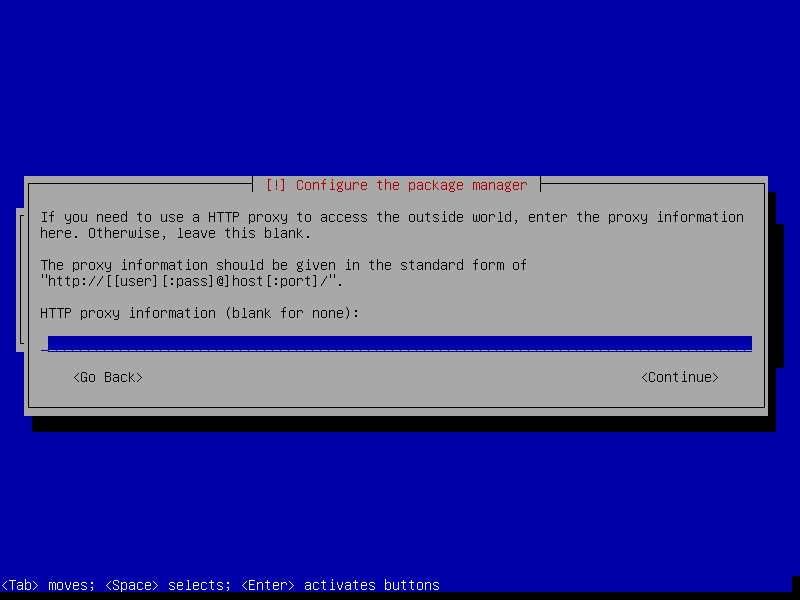
- Enter proxy information (unless you are on an intranet, you can leave this empty)
- Wait a bit while 'Select and install software' runs
- Participate in popularity contest -> No
- Choose software to install. We need just the base system.

- Make sure only 'SSH server' and 'Standard System Utilities' are checked
- Uncheck 'Debian Desktop Environment' and 'Print Server'

- Install the GRUB boot loader to the master boot record? -> Yes

- Installation Complete -> Continue
- After installation, the VM will reboot and you will have a working Debian VM. Congratulations!
Connecting to the VM
After the VM has booted you can connect to it using SSH, and files can be copied from and to the VM using a SFTP utility.
Connect to localhost, port 22222 (or the port configured when installing the VM).
On Windows you can use putty[1] and WinSCP[2].
For example to connect as root from a Linux command prompt use
$ ssh root@localhost -p 22222
The authenticity of host '[localhost]:22222 ([127.0.0.1]:22222)' can't be established.
ECDSA key fingerprint is 8e:71:f9:5b:62:46:de:44:01:da:fb:5f:34:b5:f2:18.
Are you sure you want to continue connecting (yes/no)? yes
Warning: Permanently added '[localhost]:22222' (ECDSA) to the list of known hosts.
root@localhost's password: (enter root password configured during install)
Linux debian 3.2.0-4-amd64 #1 SMP Debian 3.2.54-2 x86_64
root@debian:~#
Replace root with debian to log in as user.
[1] http://www.chiark.greenend.org.uk/~sgtatham/putty/download.html [2] http://winscp.net/eng/index.php
Setting up Debian for gitian building
In this section we will be setting up the Debian installation for Gitian building.
First we need to log in as root to set up dependencies and make sure that our
user can use the sudo command. Type/paste the following in the terminal:
apt-get install git ruby sudo apt-cacher-ng qemu-utils debootstrap lxc python-cheetah parted kpartx bridge-utils
adduser debian sudo
When you get a colorful screen with a question about the 'LXC directory', just
go with the default (/var/lib/lxc).
Then set up LXC and the rest with the following is a complex jumble of settings and workarounds:
# the version of lxc-start in Debian 7.4 needs to run as root, so make sure
# that the build script can exectute it without providing a password
echo "%sudo ALL=NOPASSWD: /usr/bin/lxc-start" > /etc/sudoers.d/gitian-lxc
# add cgroup for LXC
echo "cgroup  /sys/fs/cgroup  cgroup  defaults  0   0" >> /etc/fstab
# make /etc/rc.local script that sets up bridge between guest and host
echo '#!/bin/sh -e' > /etc/rc.local
echo 'brctl addbr br0' >> /etc/rc.local
echo 'ifconfig br0 10.0.3.2/24 up' >> /etc/rc.local
echo 'exit 0' >> /etc/rc.local
# make sure that USE_LXC is always set when logging in as debian,
# and configure LXC IP addresses
echo 'export USE_LXC=1' >> /home/debian/.profile
echo 'export GITIAN_HOST_IP=10.0.3.2' >> /home/debian/.profile
echo 'export LXC_GUEST_IP=10.0.3.5' >> /home/debian/.profile
reboot
At the end the VM is rebooted to make sure that the changes take effect. The steps in this section need only to be performed once.
Installing gitian
Re-login as the user debian that was created during installation.
The rest of the steps in this guide will be performed as that user.
There is no python-vm-builder package in Debian, so we need to install it from source ourselves,
wget http://archive.ubuntu.com/ubuntu/pool/universe/v/vm-builder/vm-builder_0.12.4+bzr489.orig.tar.gz
echo "ec12e0070a007989561bfee5862c89a32c301992dd2771c4d5078ef1b3014f03  vm-builder_0.12.4+bzr489.orig.tar.gz" | sha256sum -c
# (verification -- must return OK)
tar -zxvf vm-builder_0.12.4+bzr489.orig.tar.gz
cd vm-builder-0.12.4+bzr489
sudo python setup.py install
cd ..
Note: When sudo asks for a password, enter the password for the user debian not for root.
Clone the git repositories for dogecoin and gitian,
git clone https://github.com/devrandom/gitian-builder.git
git clone https://github.com/dogecoin/dogecoin
Setting up gitian images
Gitian needs virtual images of the operating system to build in. Currently this is Ubuntu Precise for both x86 architectures. These images will be copied and used every time that a build is started to make sure that the build is deterministic. Creating the images will take a while, but only has to be done once.
Execute the following as user debian:
cd gitian-builder
bin/make-base-vm --lxc --arch i386 --suite precise
bin/make-base-vm --lxc --arch amd64 --suite precise
There will be a lot of warnings printed during build of the images. These can be ignored.
Note: When sudo asks for a password, enter the password for the user debian not for root.
Getting and building the inputs
In doc/release-process.md in the dogecoin repository under 'Fetch and build inputs'.
you will find a list of wget commands that can be executed to get the dependencies.
I needed to add --no-check-certificate to the OpenSSL wget line to make it work.
Likely this is because the ca-certificates in Debian 7.4 is fairly old. This does not create a
security issue as the gitian descriptors check integrity of the input archives and refuse to work
if any one is corrupted.
After downloading the archives, execute the gbuild commends to build the dependencies.
This can take a long time, but only has to be done when the dependencies change, for example
to upgrade the used version.
Note: Do not forget to copy the result from build/out to inputs after every gbuild command! This will save
you a lot of time.
At any time you can check the package installation and build progress with
tail -f var/install.log
tail -f var/build.log
Building Dogecoin
To build Dogecoin (for Linux and/or Windows) just follow the steps under 'perform gitian builds' in doc/release-process.md in the dogecoin repository.
Output from gbuild will look something like
Initialized empty Git repository in /home/debian/gitian-builder/inputs/dogecoin/.git/
remote: Reusing existing pack: 35606, done.
remote: Total 35606 (delta 0), reused 0 (delta 0)
Receiving objects: 100% (35606/35606), 26.52 MiB | 4.28 MiB/s, done.
Resolving deltas: 100% (25724/25724), done.
From https://github.com/dogecoin/dogecoin
... (new tags, new branch etc)
--- Building for precise i386 ---
Stopping target if it is up
Making a new image copy
stdin: is not a tty
Starting target
Checking if target is up
Preparing build environment
Updating apt-get repository (log in var/install.log)
Installing additional packages (log in var/install.log)
Grabbing package manifest
stdin: is not a tty
Creating build script (var/build-script)
lxc-start: Connection refused - inotify event with no name (mask 32768)
Running build script (log in var/build.log)
As when building the dependencies, the progress of package installation and building
can be inspected in var/install.log and var/build.log.
Building an alternative repository
If you want to do a test build of a pull on github it can be useful to point the gitian builder at an alternative repository, using the same descriptors and inputs.
For example:
URL=https://github.com/langerhans/dogecoin.git
COMMIT=2014_03_windows_unicode_path
./bin/gbuild --commit dogecoin=${COMMIT} --url dogecoin=${URL} ../dogecoin/contrib/gitian-descriptors/gitian-linux.yml
./bin/gbuild --commit dogecoin=${COMMIT} --url dogecoin=${URL} ../dogecoin/contrib/gitian-descriptors/gitian-win.yml
Signing externally
If you want to do the PGP signing on another device that's possible too; just define SIGNER as mentioned
and follow the steps in the build process as normally.
gpg: skipped "laanwj": secret key not available
When you execute gsign you will get an error from GPG, which can be ignored. Copy the resulting .assert files
in gitian.sigs to your signing machine and do
    gpg --detach-sign ${VERSION}/${SIGNER}/dogecoin-build.assert
    gpg --detach-sign ${VERSION}-win/${SIGNER}/dogecoin-build.assert
This will create the .sig files that can be committed together with the .assert files to assert your
gitian build.
Uploading signatures
After building and signing you can push your signatures (both the .assert and
.assert.sig files) to the
dogecoin/gitian.sigs repository, or
if not possible create a pull request.